If you buy a lot of used records, you’ll surely have encountered a record jacket or cover with a ripped or split seam. Aside from looking unsightly, split seams pose a real headache for collectors as the record can easily fall out of the sleeve, causing damage.
Split seams are extremely common, and there are several ways to approach fixing a record jacket. The most common and crude method is to use tape across the outside of the record cover, but that’s not what we’re going to recommend.
Using household sticky tape to fix an album cover is a terrible idea. Firstly, it has a tendency to fail over time, but most importantly, it spoils the look of your album artwork. Even clear tape is very visible and will yellow over time, causing it to damage the album’s aesthetic further. Worse of all, it cannot be removed without permanent damage to the album cover print.
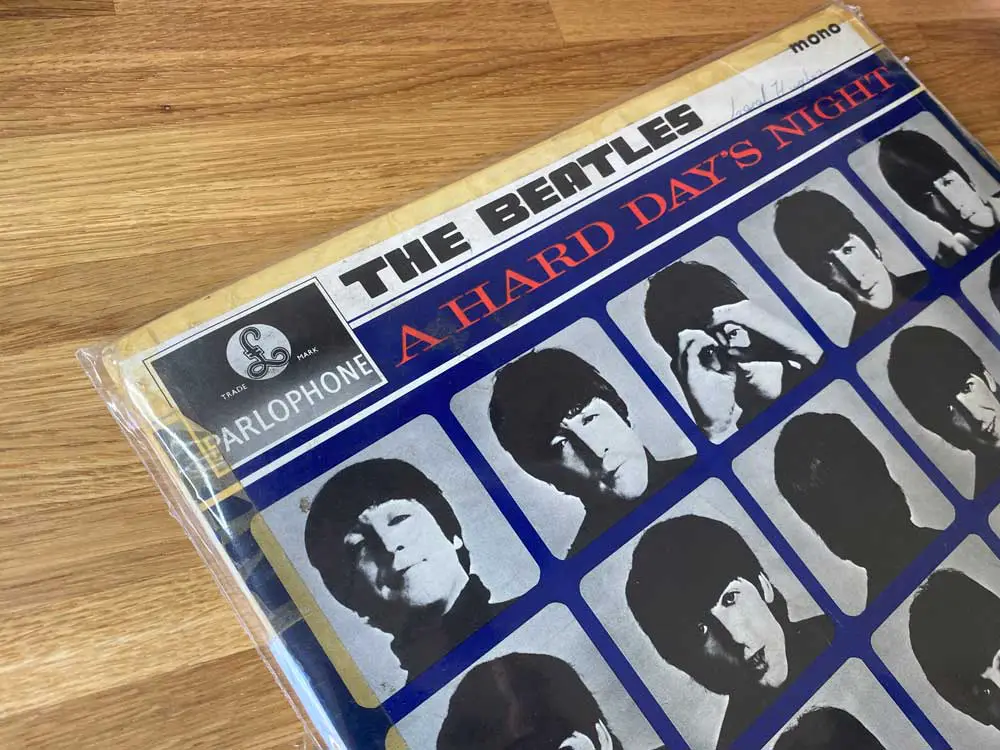
Take a look at this original pressing of The Beatles A Hard Days Night, which was fixed by its previous owner using tape. Aside from this album cover fix, the record is in great shape for its age. Sadly, there is nothing I can do about the unsightly tape.

The Best Way to Fix an Album Cover Split Seam
The method we recommend will depend on the kind of seam you need to fix.
Record Seams with Internal Folds
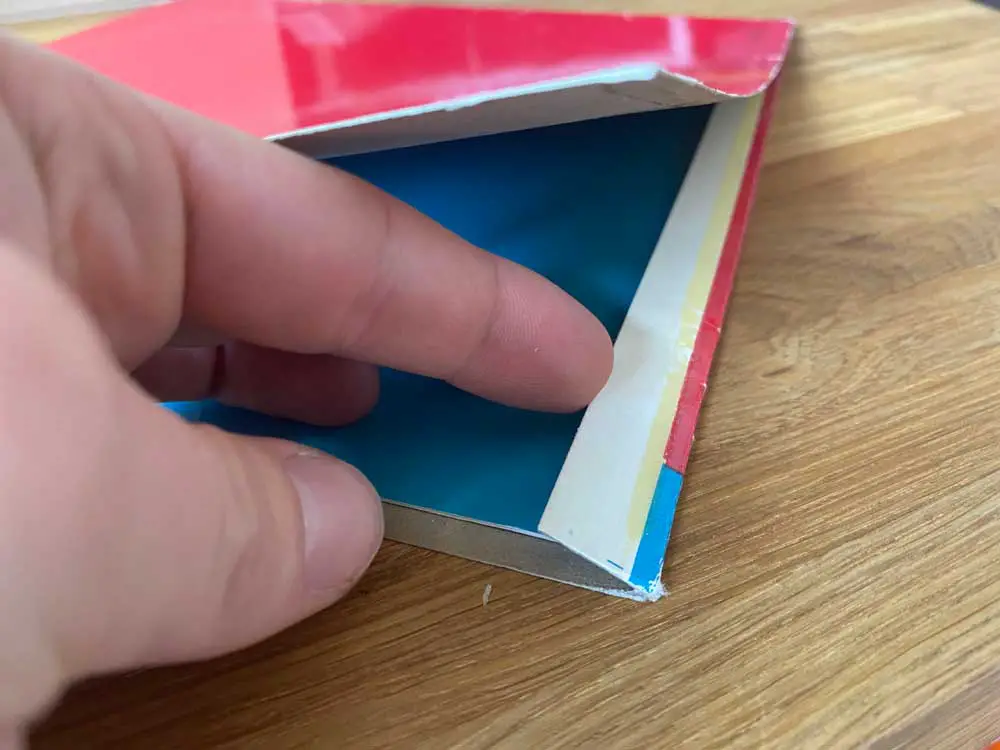
If your seam has an internal fold and the glue has simply failed over time, then you can easily fix the record jacket using 3M double-sided tape.
Alternatively, you can use glue to re-seal the cover, but this risks spreading glue to unwanted places. The 3M tape is much cleaner and safer, forming a strong, invisible bond. Check the size of your fold before ordering double-sided tape, as you want to be sure the tape is no wider than the internal flap. In my case, I’m using 1/2 inch (12mm) wide tape.

Fixing a Folded Seam
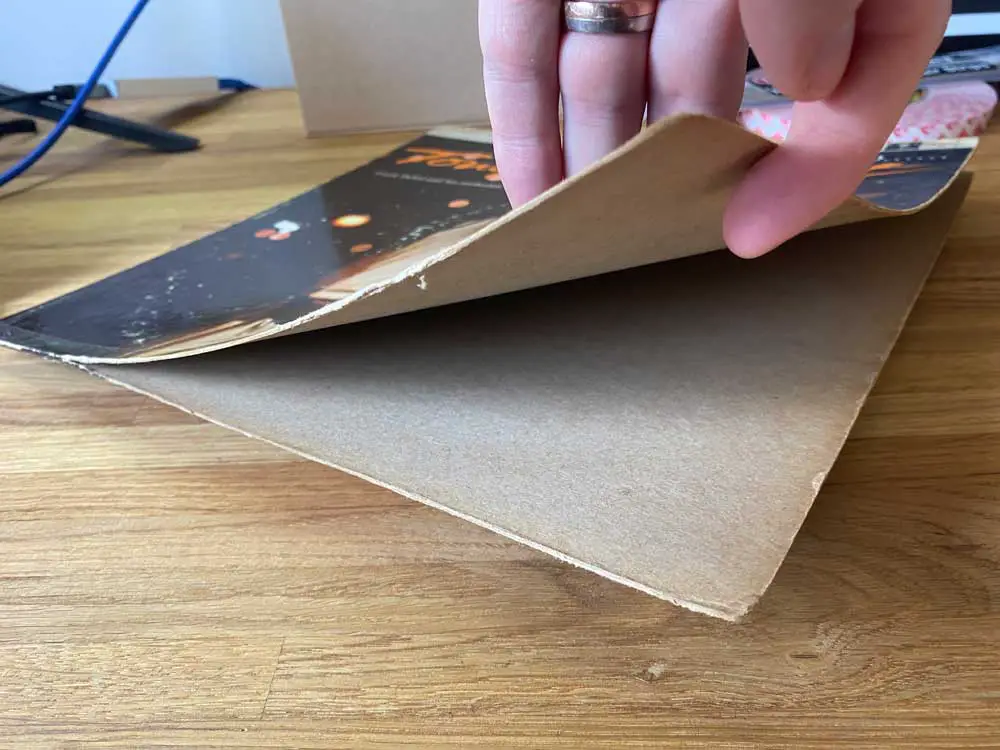
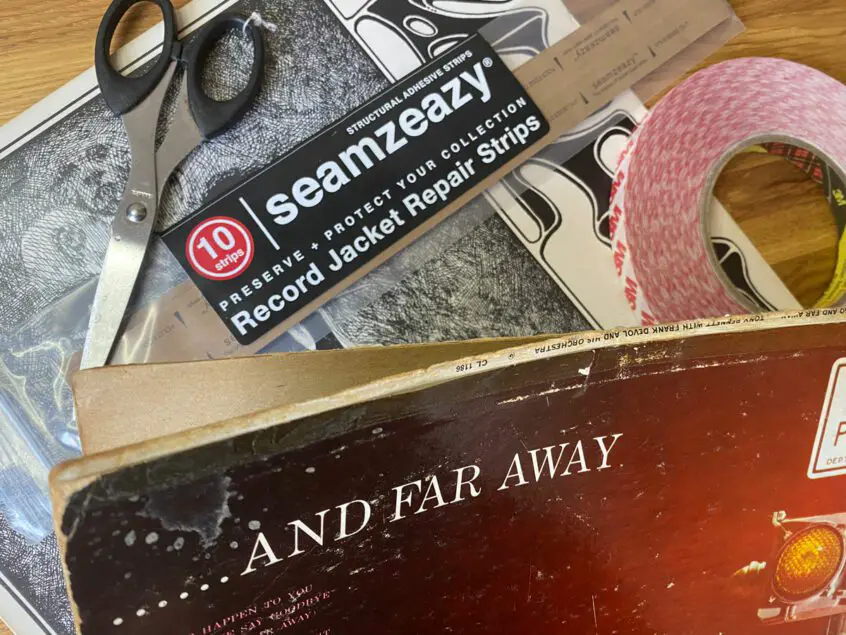
As per the example below, a continuous folded seam with no internal flap presents a different challenge. We can’t simply use strong double-sided tape as this will reduce the size of our jacket and prevent the record from sliding in and out. In this case, we need to re-build the seam, and the cleanest, most straightforward way to do this is by installing a Seamzeazy record jacket repair strip.
Seamzeazy (the company) makes structural adhesive strips that replace the edge of a damaged record jacket from the inside (without the need for tape or glue).

Step-by-Step:
Time needed: 10 minutes
- Step One:
Take one repair strip and peel away the white strip.
- Step Two:
Fold the strip and line it up with edge of the record jacket.
- Step Three:
Once you’re happy with the position, press down so the adhesive sticks to the back cover and then repeat the same process for the front cover.
- Step Four:
Use a roller of you have one to confirm the seal. The Seamzeazy strip now replaces the folded corner to form a virtually invisible repair.
- Further Tips:
Make sure you’re 100% happy with the position of your strip before you commit, as the adhesive is strong. You can also further clean up the edge by using very fine sandpaper to remove any flaking paper.
The Bottom Line:
Part of the joy of record collecting is the beautiful artwork and the sense of preserving a slice of music history for future generations to enjoy. It’s always a shame when an original pressing is permanently damaged by slap-dash repairs using tape. It’s far more sympathetic to apply a tasteful repair where possible and retain the integrity of an album cover. Staying clear of glue and tape with the use of adhesive strips is the safest way to perform a discreet repair.
The Seamzeasy strips make repairing seamless folds simple and easy. They’re readily available in North America, but UK and EU customers may have to get creative with their own card and adhesive tape to perform a similar repair. Check their website out below for more detail or follow the Amazon link to buy a pack today:


On folded flap type covers, for years I’ve used a simple glue stick. Excess glue doesn’t squeeze out. The stick is right around a half inch wide and runs perfectly along the flap where the factory glue has let loose.