In an ideal world, we’d all be able to clean vinyl records with a fancy, purpose-built device, such as a vinyl vacuum system or an ultrasonic cleaning setup.
Unfortunately, many of these advanced cleaning methods are either cost-prohibitive or impractical for the average vinyl record collector. Consequently, many of us must settle for good old fashioned hand cleaning.
If a record is very dirty, cleaning by hand is often very hard, repetitive work – but it can be done. First, a few caveats.
1) No amount of cleaning – mechanical or manual – will fix a damaged record.
2) The best way to keep records clean is not to allow them to become so dirty in the first place; some basic vinyl care and maintenance is advisable.
3) Regular dry cleaning is also recommended to minimize wet cleaning. (By dry cleaning I mean regular use of a carbon fiber brush).
4) Second-hand records will almost always require wet cleaning.
As you’ll gather from the caveats listed above, there are two hand-cleaning approaches, dry cleaning, and wet cleaning. When combined with the careful handling of your vinyl records, the former should be a regular process practiced each time you play a record, while the latter is an occasional requirement.
Dry Cleaning
For this, all you need is a decent carbon fiber brush.
For best results, lightly place the brush on the record surface as the platter spins.
Most of the dust will gather at the front fibers. Allow the record to spin a few times before gently scooping up the front fibers allowing the rear set of fibers to catch anything missed by the front.

Now lift the brush. Aim to repeat this process for each side before and after playing to minimize the build-up of dust over time.
If we jump straight to wet cleaning, all we’re going to do is make life harder for ourselves. Removing the loose surface dust first will make the next step much easier and more effective.
Watch my video below for a step-by-step guide on how to dry clean your records regularly.
Wet Cleaning
While proper record care and maintenance will help keep your records clean for longer, it’s a fact of life that all records require occasional wet cleaning to remove stubborn dirt built up over time. In fact, I even clean brand new records, as most are contaminated straight from the pressing plant.

There are many ways to wet clean records by hand. The following is a method that I find works really well for me…
Firstly, you’ll need to source a record cleaning solution.
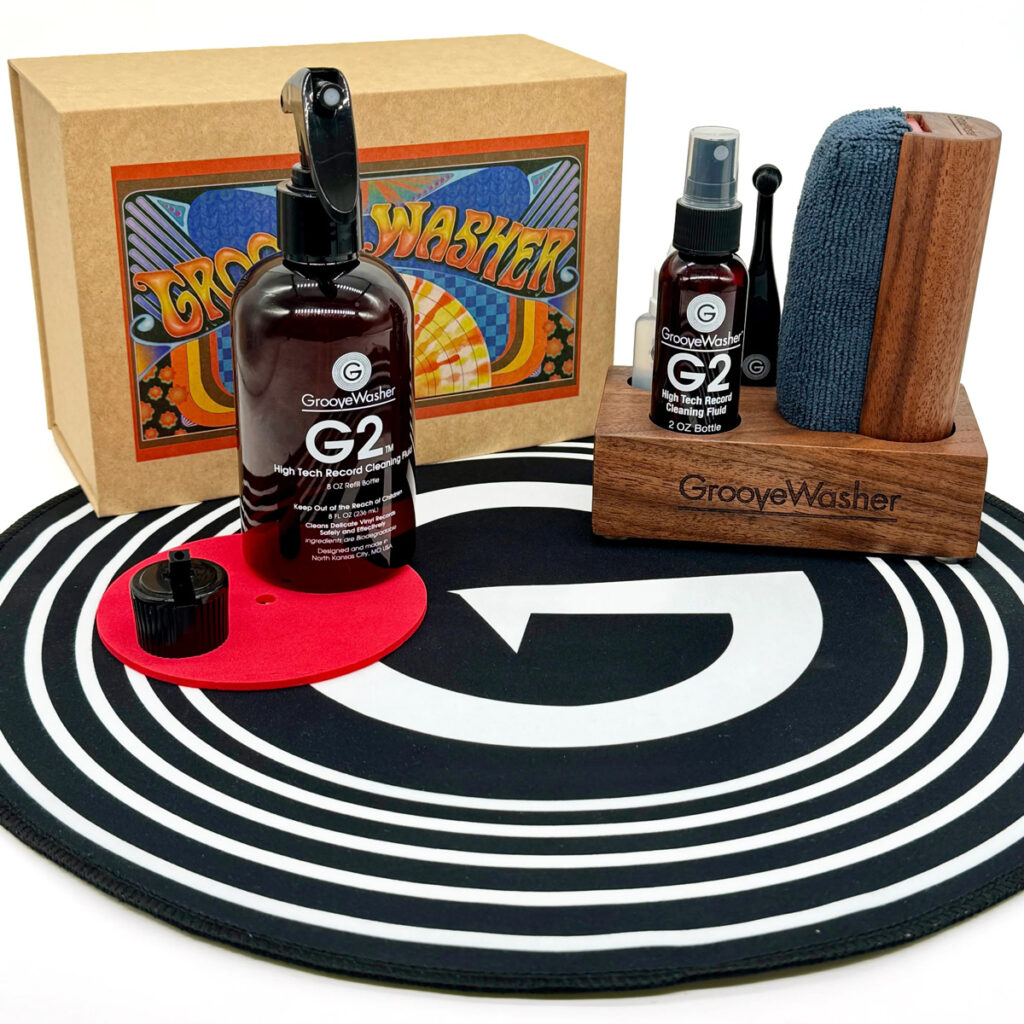
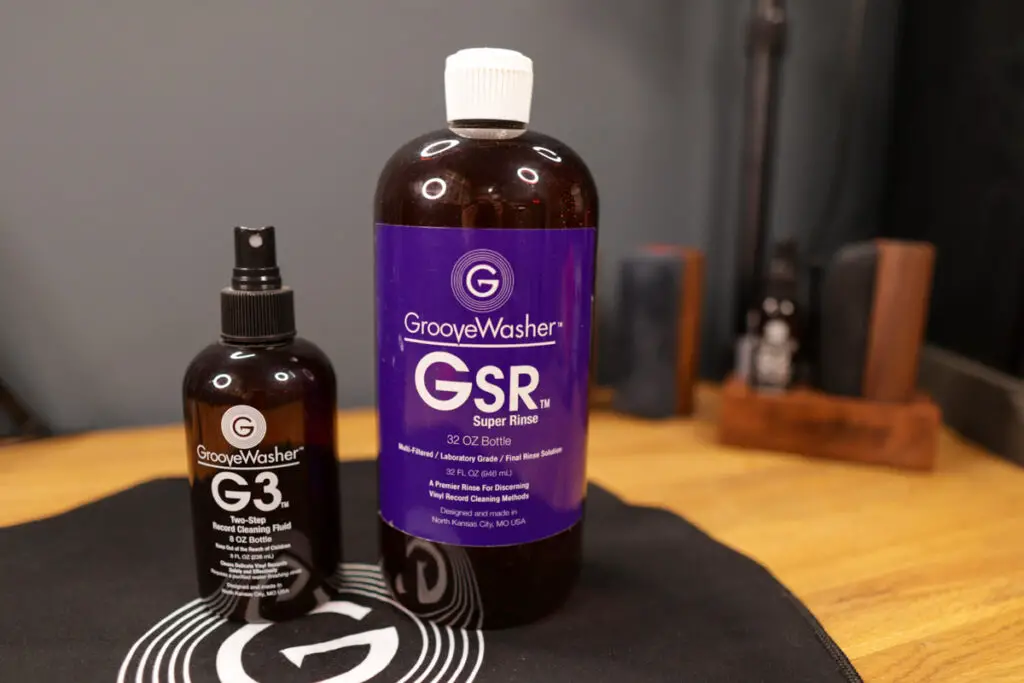
The GrooveWasher cleaning kits are by far my favorite. GrooveWasher is a single-step cleaning method that leaves no residue behind.
Their G2 Fluid is the result of years of research and testing, guided by the popular 1970s Discwasher. We’ve tested countless cleaning solutions on the market, and on balance, GrooveWasher is the fastest and most convenient manual hand-cleaning solutions available. (GrooveWasher is available worldwide. Shipping is free inside the United States.) Check out our full review (complete with before and after audio samples) here.
(Sound Matters readers receive 10% off direct orders from GrooveWasher when using the discount code: SOUNDMATTERS10)
Now on to the cleaning process:
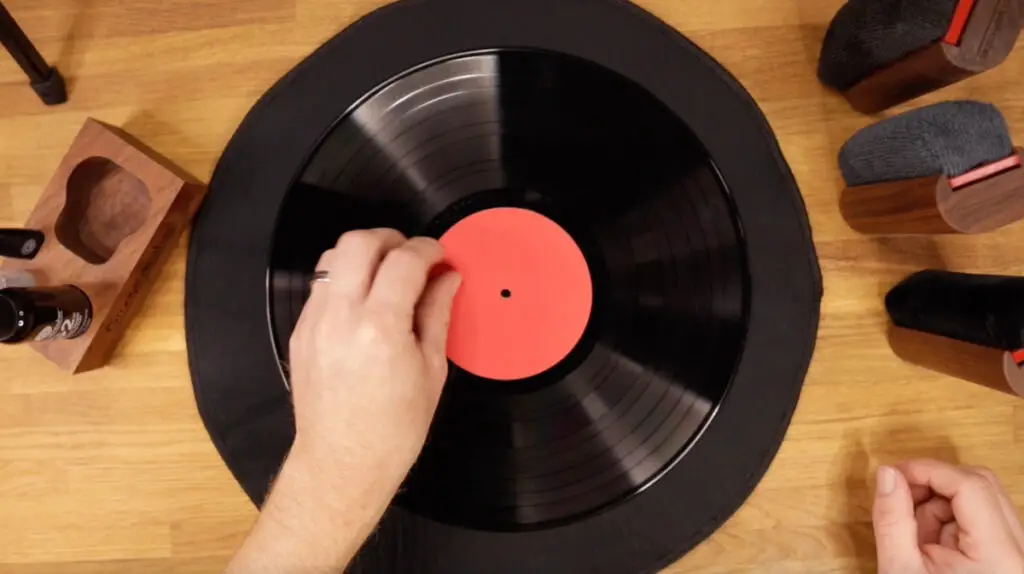
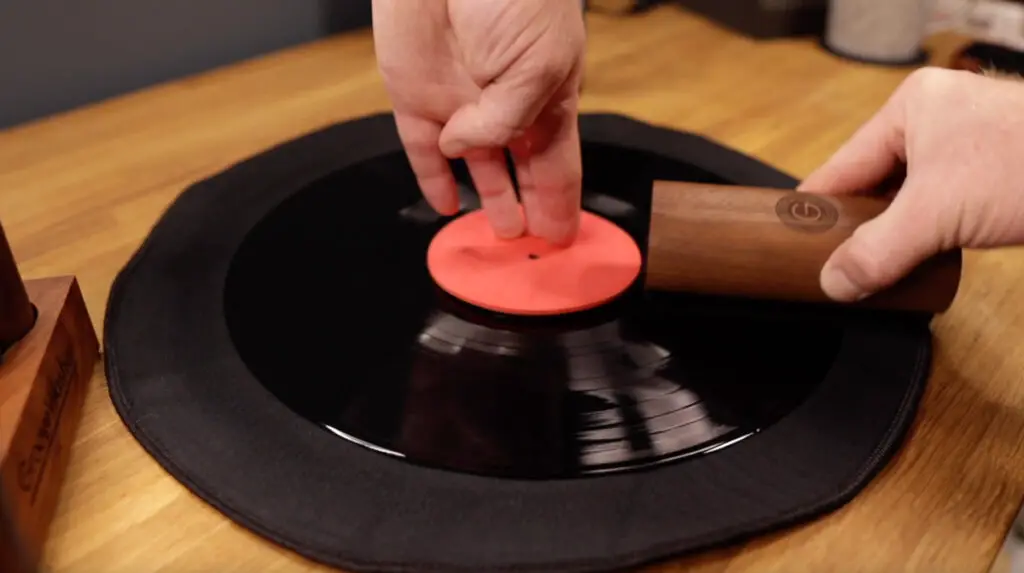
Step One: Place the record on a lint-free surface and cover the label with a label protector.
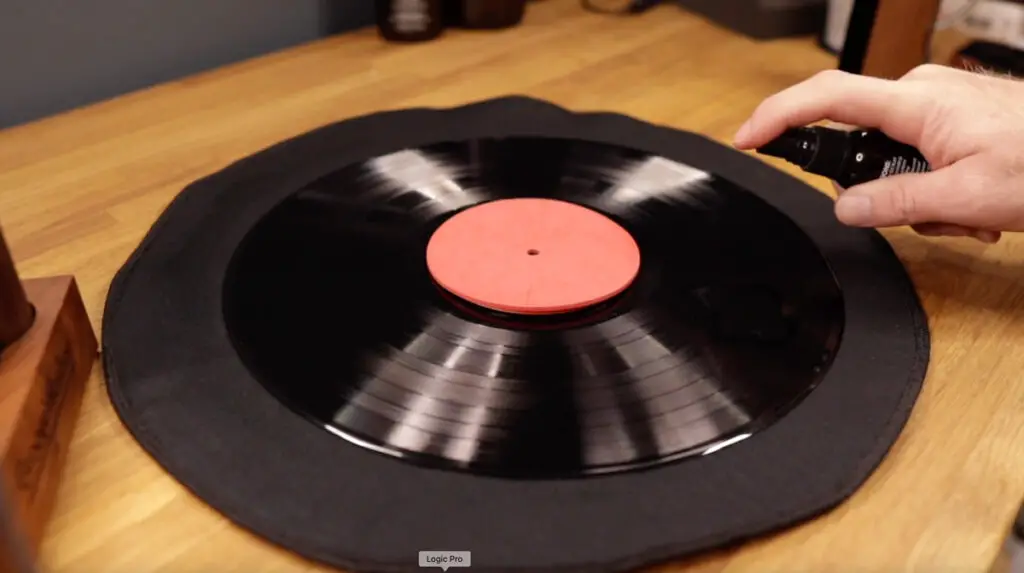
Step Two: Spray enough record cleaning fluid to cover the record evenly. I use the GrooveWasher cleaning fluids which I’ve used for years (even before they began sponsoring the channel).
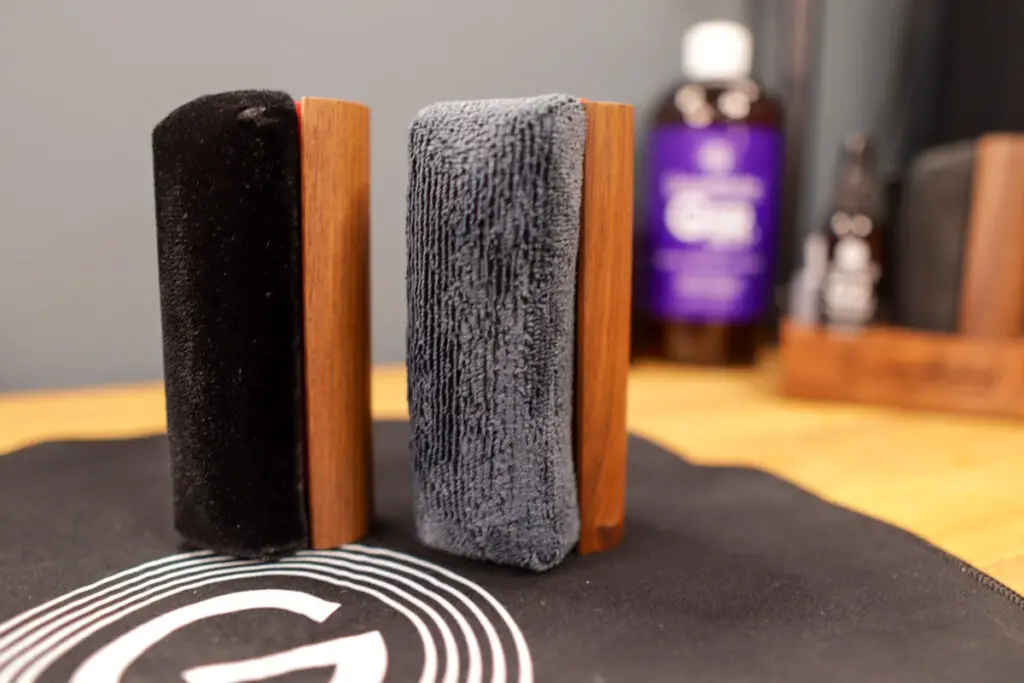
Step Three: I recommend using two different types of cleaning pad:
Firstly, a velvet pad, which is great for spreading the cleaning fluid and giving some minor mechanical cleaning action.
After this, use a microfiber pad, which is much more absorbent and will help take the contaminated record cleaning fluid away from the record surface.
You can just use the microfiber pad, but I find the extra first step greatly improves the results.
Step Four (Using the Velvet Pad): You’ll feel the velvet pad lock into the record grooves and you can scrub back and forth so long as you go in the direction of the grooves.
Step Five: Once finished with the velvet pad, allow the record cleaning fluid to sit for a minute; this allows time for the emulsifiers and surfactants to break down unwanted grime and hold all the nasty stuff in suspension.
Step Six: Switch to the microfiber pad and start with the leading edge, slowly rotating the pad to the dry side, mopping up the cleaning fluid in the process.
If a record is very dirty, then multiple cleans may be required to achieve the desired result. In some cases, you might want to consider a more concentrated cleaning fluid, such as GrooveWasher’s G3 formula, which is stronger, but requires a secondary rinse stage.
As a rule of thumb, use the most gentle method possible to get the result you’re after.
Some recommendations and further caveats:
If the microfiber pad becomes saturated, it will loose it’s cleaning effectiveness; you want to it to absorb the contaminated record cleaning fluid, not just simply push it around.
Having more than one microfiber pad or towel with extend how many records you can clean effectively in one sitting.
If a record is particularly dirty, it might take quite a few
A great combination is to pre-clean the record by hand helping to loosen everything up, and then following up with a cycle in a record cleaning machine, such as an ultrasonic. Check out my video below on this two-step process using hand cleaning and the HumminGuru ultrasonic record cleaning.
How NOT to clean vinyl records
Avoid using tap water to clean records. The impurities found in domestic tap water may not be visible to the naked eye, but they can (and likely will) cause damage to your record.
Hard water areas (such as where I live) are particularly troublesome. (Ever seen what happens to a kettle when you boil tap water? The furry limescale that sticks to the kettle surface should be reason enough not to consider using tap water).
Don’t be tempted to try domestic cleaning products – or even pure alcohol – to clean records. Despite what many YouTubers will say, Windex or Mr Sheen do not make good vinyl cleaning fluids.
Always invest in a recommended, purpose-designed record cleaning solution. If you are tempted to make your own, make sure you research carefully before mixing ingredients.
Check out my video below for a list of common DIY record cleaning approaches that I don’t recommend, including the infamous wood glue method.
I still have an original Discwasher brush with the *directional* fibers. It’s *far* superior to modern fiber brushes which just move dirt around instead of lifting it off. For fluid, I use a mixture of distilled water and a couple of drops of solution from my Disc Doctor spin cleaner kit.
If I ever have to replace the Discwasher brush due to wear, I have my eye on the Audio-Technica AT6012 brush which also has directional fibers.
I use a vintage Discwasher with D3 fluid I guard cautiously. It works great still. The new DW are junk…
[…] those on a tight budget, you can achieve great results cleaning records by hand. However, if your budget will stretch to a record cleaning machine, there are several […]